

ResultWet plastic
Likely causeMaterial retains water
Safe checkAngle items

Damp dishes are often about drying method and loading, not a broken machine.

Dishes left wet can be traced first to rinse aid, water temperature, how the load is arranged, and the drying option selected. Check the rinse aid level, run hot water at the sink before starting, and angle plastics so they cannot hold water. If every item is still wet after a full cycle with those fixed, book a diagnosis.
This guide separates routine care from work that requires testing or disassembly. Do not bypass a lock, safety switch, or error message to keep an appliance running. Taking a few notes now can make the eventual diagnosis faster and more accurate.
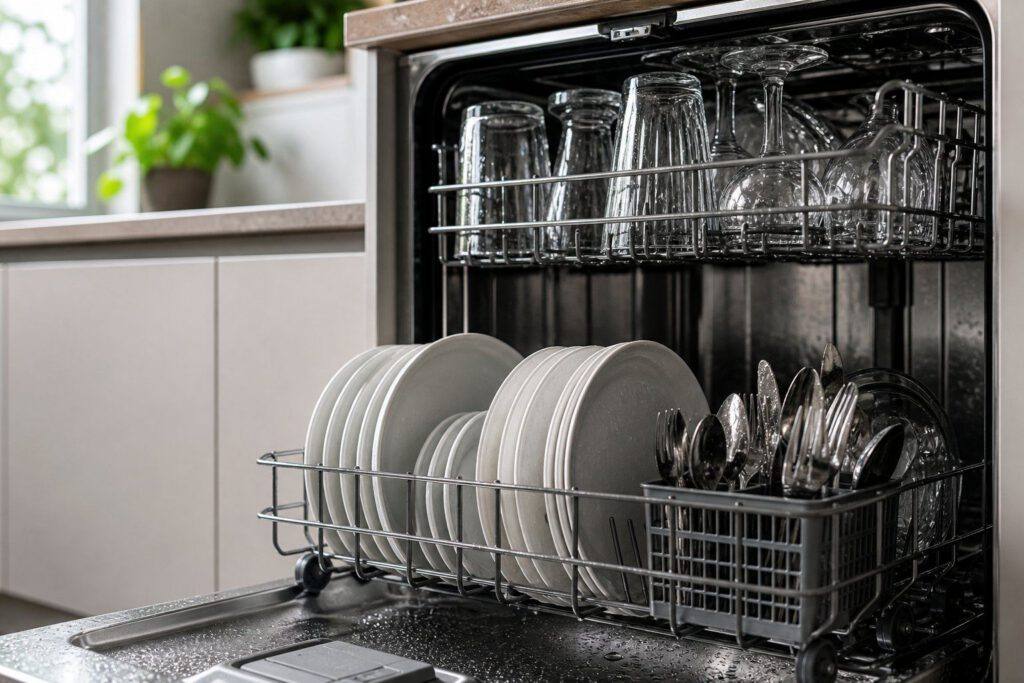
Fill the rinse-aid dispenser, confirm its setting is not at minimum, and angle cups or plastic containers so they cannot hold water. Make the check with the appliance in its normal position and without forcing panels, fittings, or controls. If the result changes after a simple adjustment, run one normal cycle or operation before drawing a conclusion. Check the water temperature as well, because a dishwasher dries best when the supply is hot.
Condensation drying depends on warm surfaces and airflow, so opening the door before the program finishes can reduce the drying result. Look for a pattern: whether the issue happens every time, only with a particular load or setting, or after the appliance has been running for a while. That distinction is more valuable than repeatedly restarting the appliance.
Maytag support says the rinse aid dispenser shows a clear indicator when it is empty, and that the setting can be raised a little at a time for hard water or spots. Water temperature matters too: the dishwasher needs a hot water supply, ideally around 120F, and running the tap at the sink for 30 to 60 seconds before starting helps the first fill arrive hot.
Drying options differ by model. Heat or Pro Dry is the default for smaller loads, Extended Dry adds 15 minutes, and some models have Door Open Dry or Natural Dry. Eco and Quick cycles may use less heat or drying time, so a load that dries well on one cycle can come out damp on another.
Consult the use-and-care manual for model-specific controls, filter access, and maintenance intervals. Clean only parts described as user-serviceable, use the recommended cleaning products, and refit every removable part exactly as it was designed to sit.
Before trying another cycle, clear obstructions, reduce an unusually heavy load, and make sure airflow, water supply, or door clearance is not being restricted. Avoid repeated resets: they can hide an intermittent fault and may leave water, heat, or pressure where it should not be.
Fill the rinse-aid dispenser, confirm its setting is not at minimum, and angle cups or plastic containers so they cannot hold water.
Only if there is no burning smell, smoke, sparking, gas odor, water near electricity, or other safety warning. Otherwise stop and arrange service.
Book a diagnosis when the safe checks above do not resolve a dishwasher leaving dishes wet, or when the next step would require opening the appliance or testing internal parts.
Share a few details and we’ll confirm an appointment. Prefer to talk? Call us and we’ll help right away.